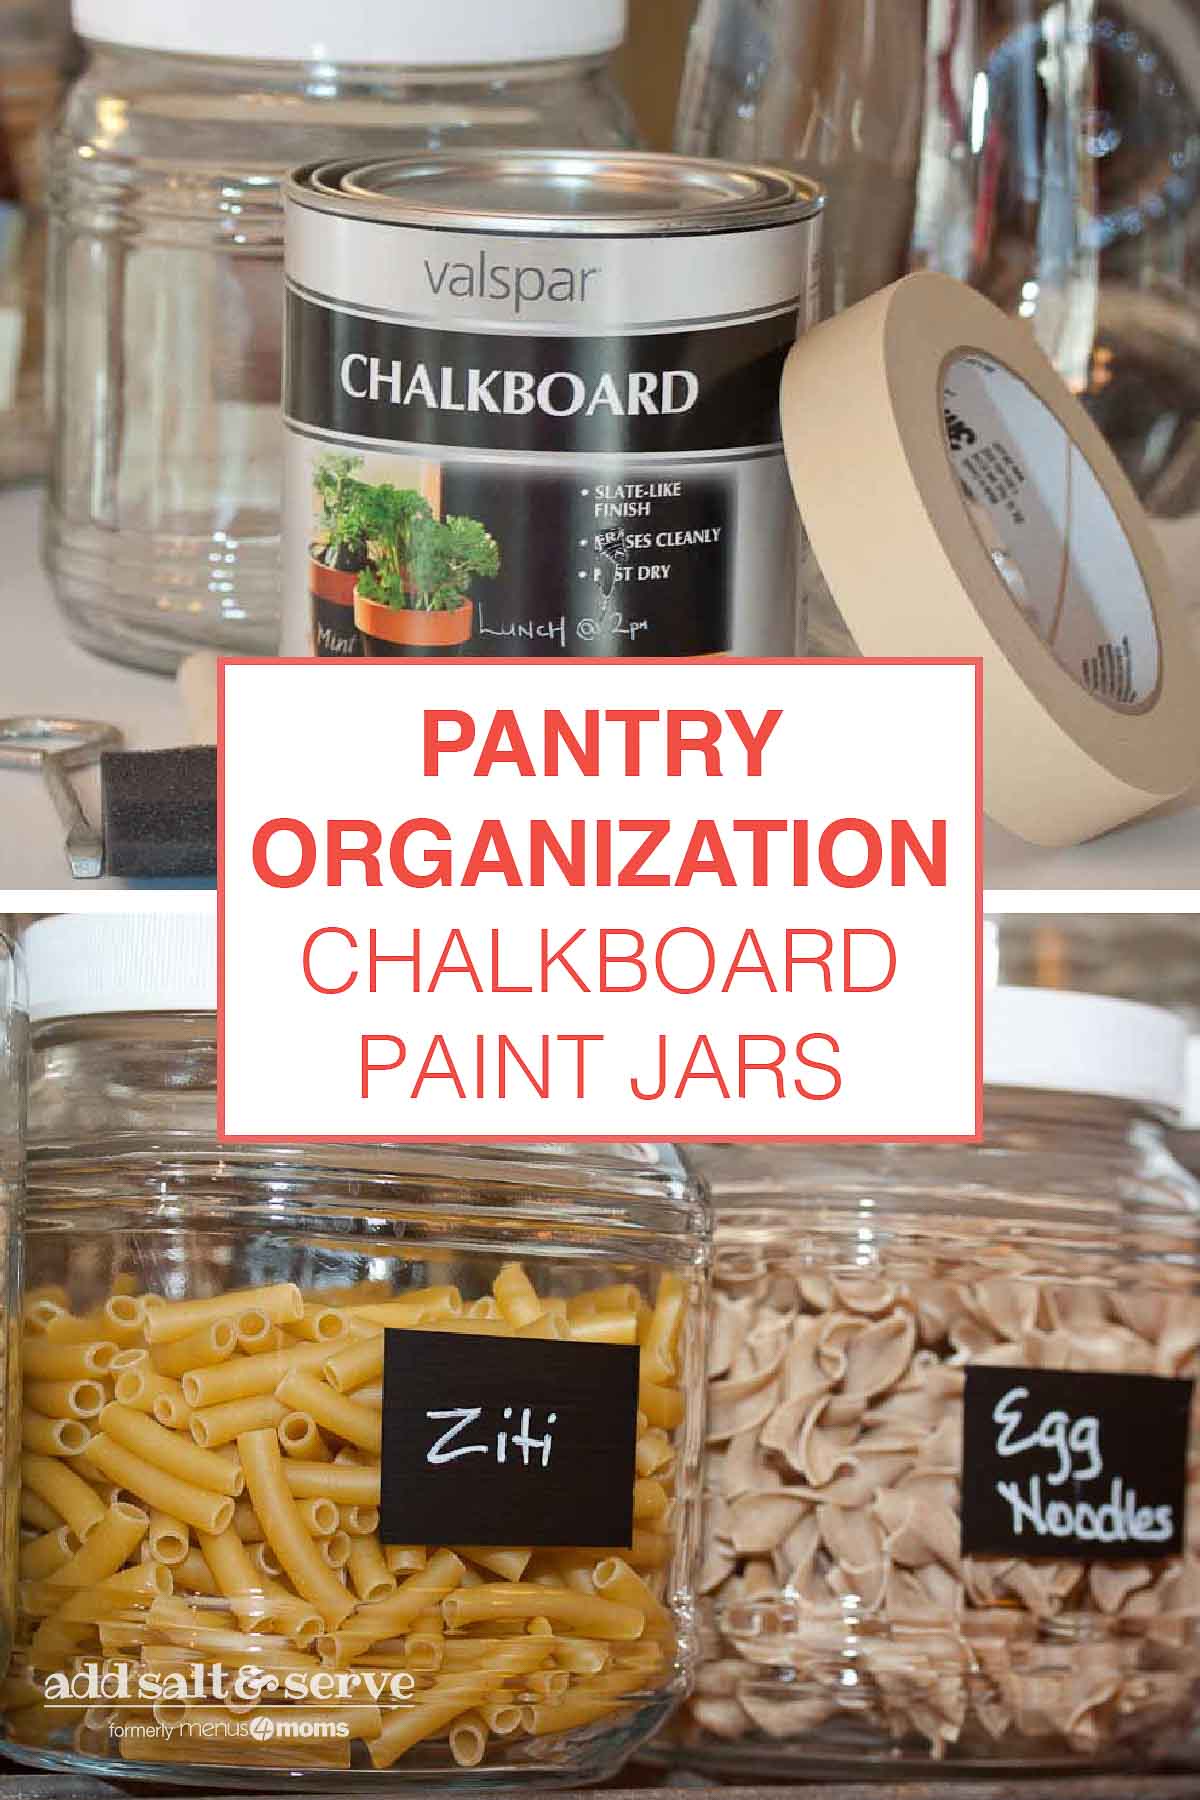
This easy DIY chalkboard paint project turns your pantry items into decor! Pasta, beans, baking supplies, and more can be stored and easily identified.
I love to organize just about everything (okay, maybe not the pile of papers sitting on my desk that need to be filed, but just about everything else). I get excited about containers of any kind, and I never met a tote bag that I didn't like. My heart goes into palpitations when I visit Ikea.
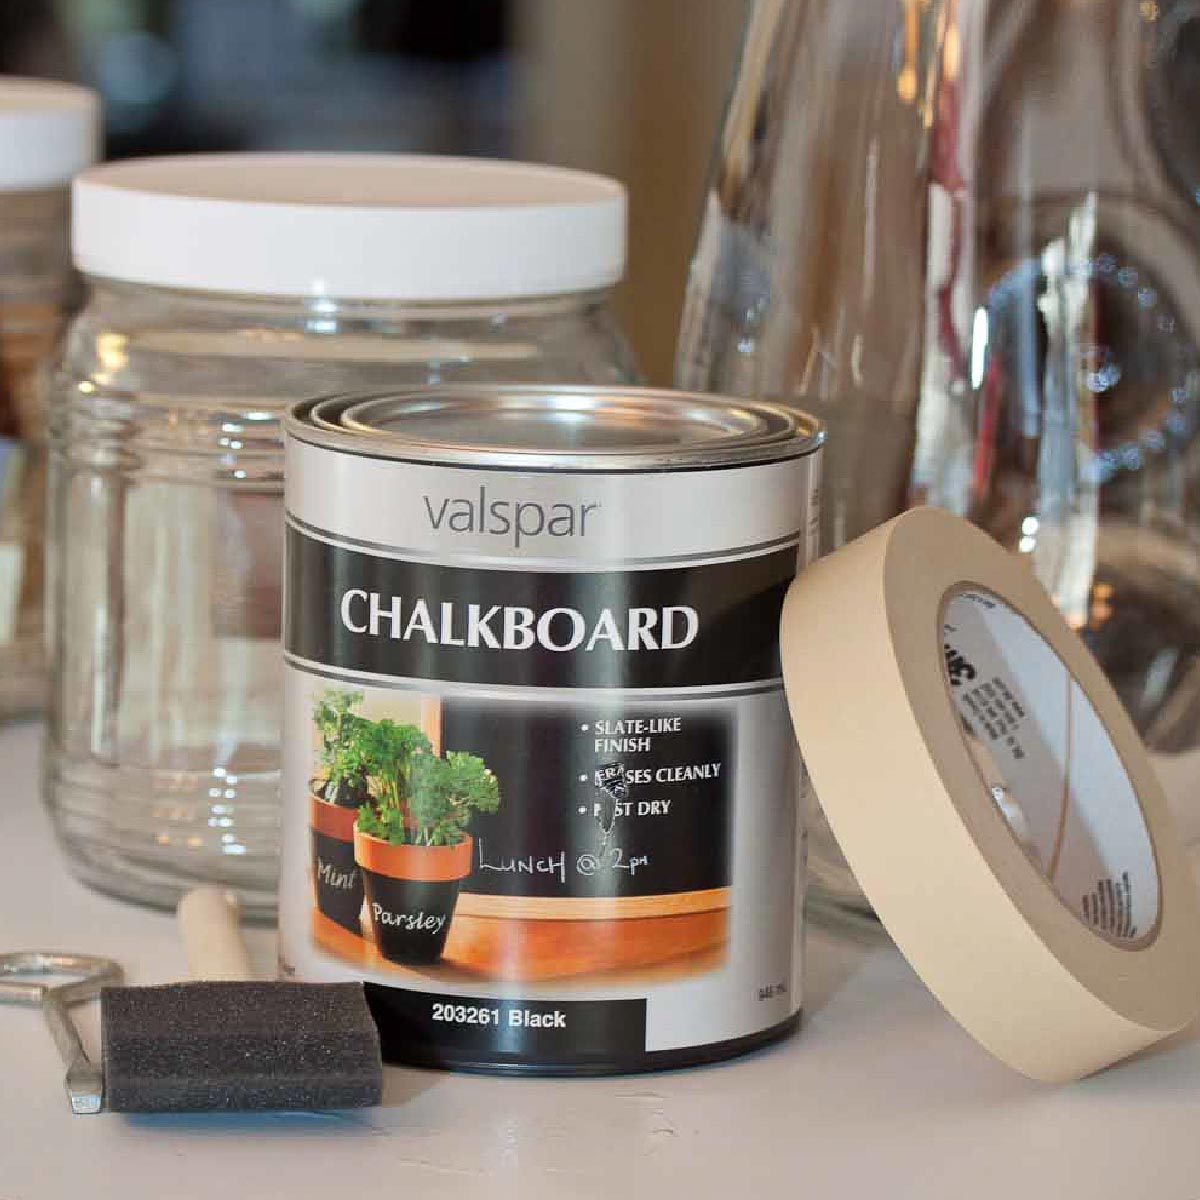
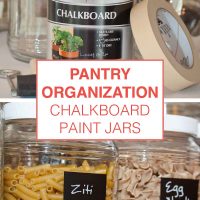
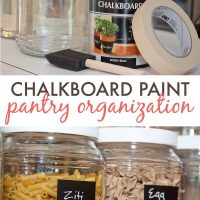
Several years ago, I found really nice quart and half-gallon glass jars at Dollar General for $1.50 and $2 each, respectively. I bought a bunch of them and have used them to store rice, dried beans, pasta, and just about anything else.
It's both pretty and functional since it frees up my pantry space for other things. When we lived out in the country, it was a necessity to keep out the mice (who can make quick work of any food stored in bags or boxes).
Recently I decided that it would be nice to be able to label the jars since it's hard to distinguish one type of rice from another without close examination.
With that in mind, I remembered the chalkboard paint that I had used to create a chalkboard in my girls' room years ago. I didn't know if it would work on glass, but I saw a link on Pinterest that made me think it would, and it did.
The process is easy and the work time is actually very short, but the total time was several hours since the jars needed several coats, and that added drying time between each coat.
I just set up my painting area on my kitchen table so that I could work throughout the day.
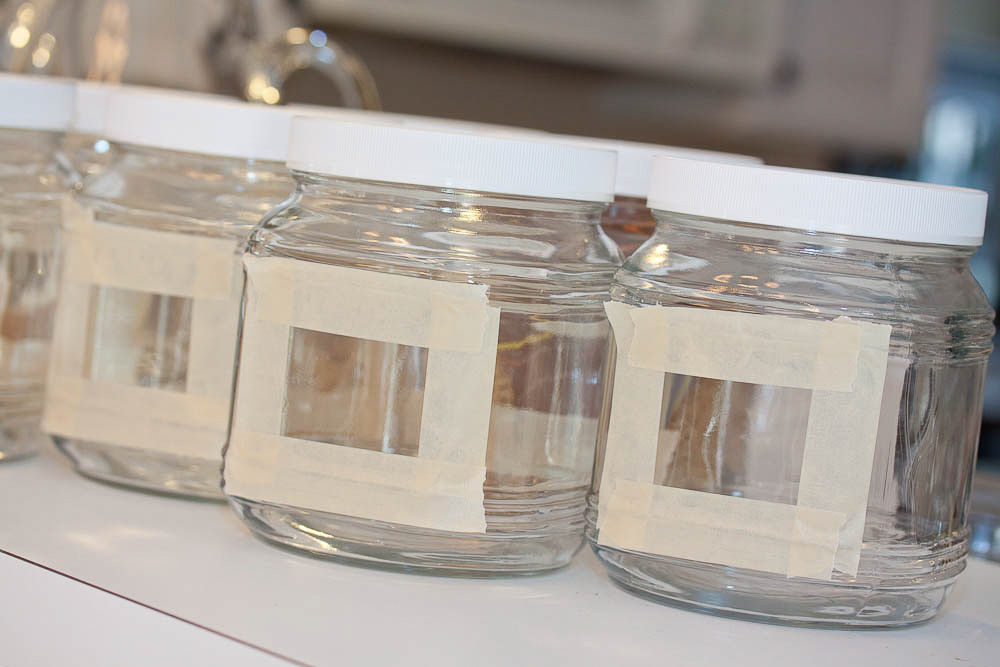
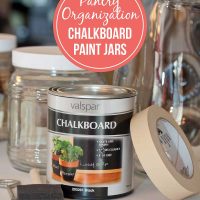
It took about 30 minutes to tape off a masking area around all of the jars and pitchers (I did about 15-20 jars and 2 pitchers), then about 15 minutes to paint each coat of paint. It took 3 coats to get the opacity that I wanted, so between each coat I worked on other things while the paint dried.
Because I am lazy, in later iterations I simply painted a free-hand rectangle instead of taping off a square. They look find and saved a ton of time.
After 3 coats, I let the paint dry for several hours before removing the masking tape, then let the paint dry overnight before writing on it for the first time.
I recently discovered chalkboard markers and I love them! They write just like markers and dry with the paint look that you see in coffee shops and grocery stores. I'll never go back to chalk.
I use the markers not just to label the jars, but to write the cooking time (and for rice, the rice to water proportion).
Here are some other cool ideas that you can do with chalkboard paint:
Entryway message center - I love this and wish I had room for it!
Chalkboard easel from an old crib
Chalkboard table runner for labeling a buffet
Have an idea that uses chalkboard paint? Let us know!

Melissa
Have you figured out how to erase chalk board markers? I did this idea and painted some labels on glass jars and also the inside of a cabinet door to use to write a menu on and got this same brand of chalk board marker, but I have found it to be permanent. I tested it when I first started writing and it came off with a damp paper towel, but not after what you have written sits for a few hours. Have you tried to erase any of yours?
Mary Ann
Hi Melissa - I ran into the same problem but I (very gently) use a Magic Eraser and it works. You have to be careful though - it will eventually take the chalkboard paint off if you rub too hard or erase too often.
MA